Henry & Higby

life with kids

The Art of Being Ruthless (ish): Editing Your Children’s Art

Annie & MichelleComment
 
Art+Review.jpg
 

Now that Kid Chronicles are officially available (click here for our shop page), it is time to dig into how to edit your children’s paperwork and artwork. We have touched on reviewing and saving art before but we took a deeper dive in this piece should you need a little help kick starting the editing process.

Happy Organizing!

Make a Drop Zone

The first step is to find a place that is easily reached to gather everything that comes into the house. This is often called a Drop Zone. Then, once a week or once a month or even every day, take the time to review it. 

Take a Que from Frozen and…Let It Go. 

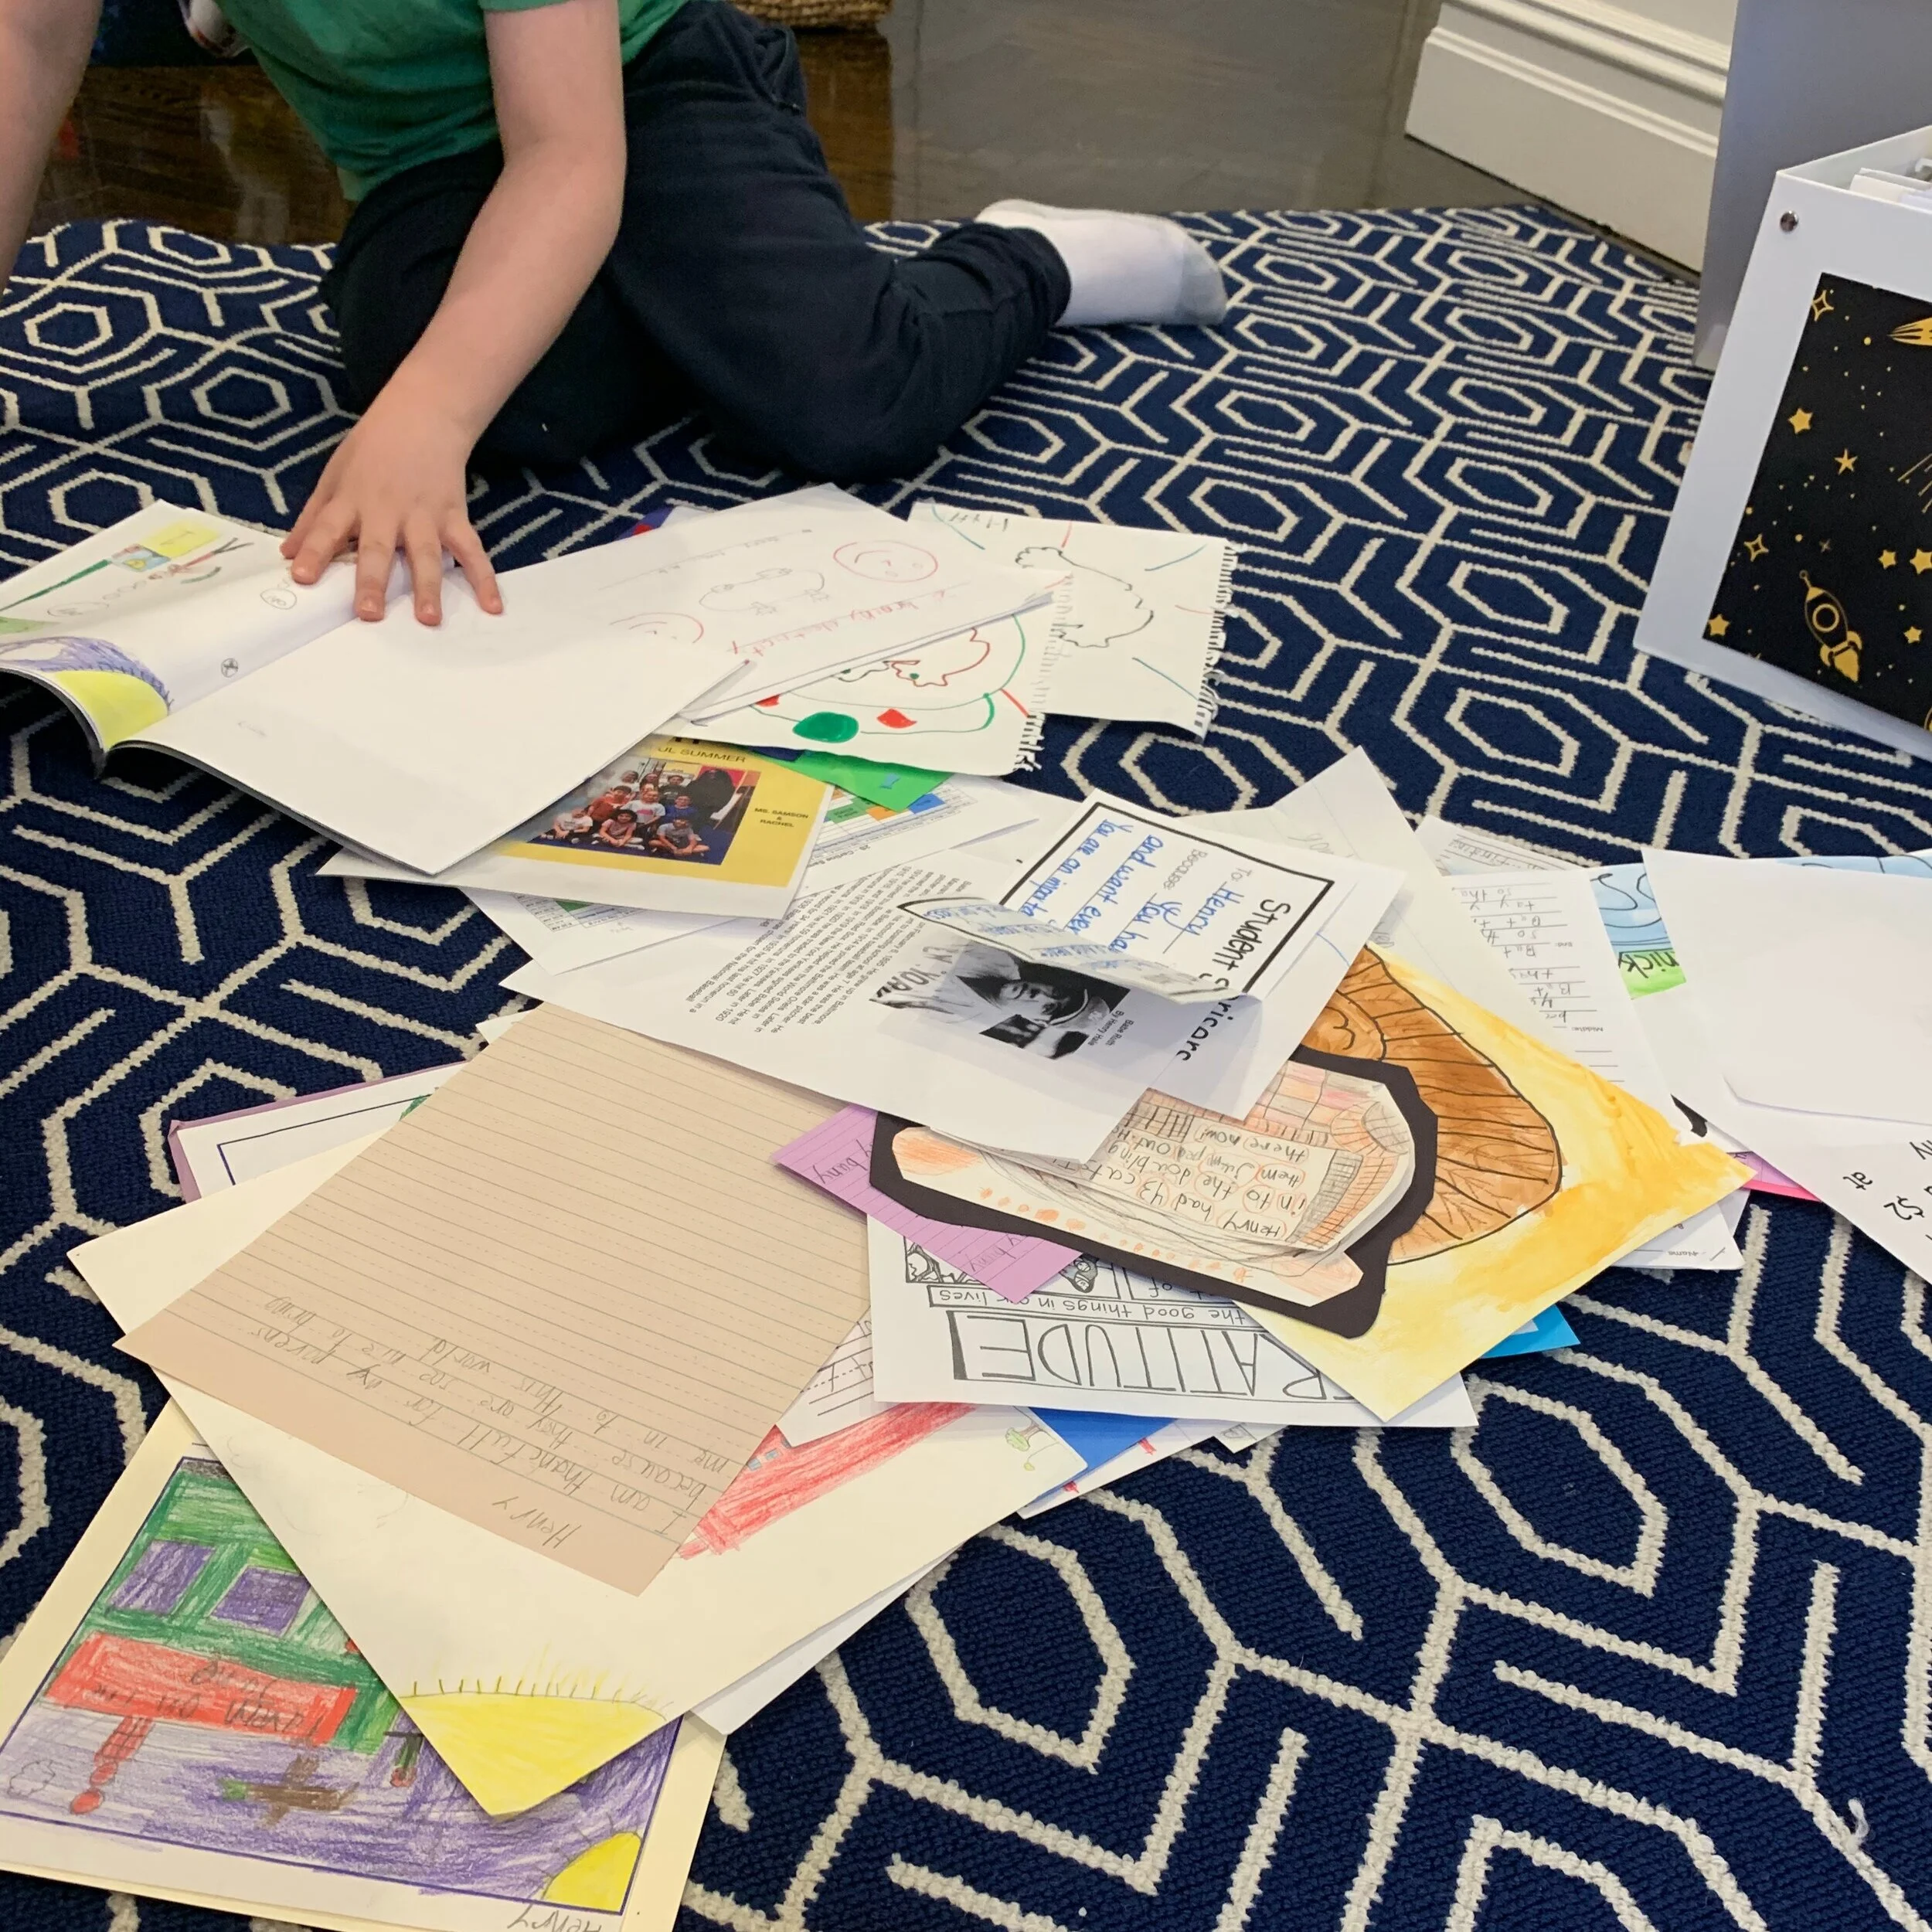
When evaluating the onslaught of paperwork and artwork and…, ask yourself if it would mean something to you down the road if your child’s name wasn’t on it?  If the answer is no, it is probably safe to get out the recycling bin.  Self-portraits, holiday-specific pieces or reflection work are definitely worth saving as they tell a story and are fun to have as part of a personal history – likely a bit more than math homework or English quizzes.  Outside of those “keep” pieces, it would be wise to save anything you love, that sparks a memory of a shared experience or anything tied to proud accomplishments in your child’s life. This can also include non-school related items such as family holiday cards, party invitations, soccer team photos, field day ribbons, cards from friends and family for birthdays and holidays and even teeth x-ray pictures from the dentist.  

Put it Away.

Once you determine the pieces you want to keep, transfer them to your child’s Kid Chronicles box. Ideally the box should live in an accessible place near a landing spot where all of these items are dropped off in the first place. In our house, this box lives in my son’s room but many clients keep their boxes in the kitchen or home office.

Year End Edit and Long-Term Storage.  

The end of each school year is a good time to review all of the items that ended up in your child’s memory box again. You will likely find that even a review after nine months can make it easier to part with things. 

Some children are very prolific artists and sometimes you want to keep more than can fit in one hanging folder so feel free to add others as needed for these situations.

Last But Not Least – Label It. 

Each Kid Chronicles box also includes a set of labels for all of the 3-D artwork and others pieces that were not originally signed by the artist. And, although the clay item will not fit in the box, you can order an additional name place and attach it to a secondary storage box to save those creations. Some of our favorite secondary storage boxes are linked here.

Disclaimer for Parent of the Overly Sentimental Child. 

A lot of children like to squirrel away any and every item they put effort into and don’t like the idea of getting rid of them. We think it is never too early to begin teaching the littles organization skills and artwork and schoolwork are a great place to start. If you need a little guidance in this area, you can check out our earlier post on the topic

To purchase your own Kid Chronicle’s memory box, head to our Shop page.

 
Art+Archive+2.jpg
 

Getting Organized for Summer

OrganizationAnnie & MichelleComment
 
Henry & Higby Getting Organized for Summer
 

Many of us are nostalgic for the summer days of our youth but summer gets a bit more complicated when you become a parent. Between ever shifting schedules, busy social calendars, sleepovers, camps and the days when the kids are home in between, parents have a lot on their plates and living isn’t always easy. However, with a little preparation and organization, you can relieve some of the summer stress and enjoy some more restful moments. 

Read on for some of our tips on how to plan now for a stress-free summer with your family. 

Happy Organizing!


Create a Calendar: Start updating your family calendar for the summer months so you can capture all activities that you and your children will participate in including camp, playdates and travel. This way you will know what is coming up and what weeks or days you still have to fill up. Color coding the calendar by activity or child makes it easy to quickly reference commitments.

Make a Date: Plan outings and get togethers for those free days and weekends of summer to help you stay in touch with friends and family. And set aside time for some of the activities that are unique to summer such as days at the pool, leisurely BBQs outside, running through sprinklers and catching fireflies in mason jars. With services such as Amazon Prime and grocery delivery apps, we find it easy to stay on top of prep by creating an alert in our phone calendar a few days before a planned activity to stock up on necessary supplies. 

Banish Boredom: When you come up with fun activities, write them out on index cards and pin them next to the family calendar. That way when the “I’m bored“s start (it’s inevitable, right?), you already have a list of ideas ready to go. Letting kids choose the activity too makes them part of the process as well! 

Keep Learning: Look for activities that will keep your children engaged and learning about the world around them. Planting a small garden is a favorite in our house because you can plant the seeds together when school lets out, task your children with watering them every day and then reap the benefits and have a fun cooking project come August when the plants are fully grown. 

Check Your Supplies: Summer means days with lots of sun and bugs, so start stocking up now on sunscreen and bug repellant and check your first-aid kit to see what needs to be replenished. Grab extras to make “to go” packs that can be popped into bags on the way out of the house in the morning. That way everyone is covered no matter who is taking care of the kids that day. 

If you are looking for more ideas on getting organized for summer, check out our blog post, Simple Steps to Get Ridiculously Organized for a Stress-Free Summer, posted on What Moms Love

Organizing Your Children's Art Projects

OrganizationAnnie & MichelleComment
 
Henry & Higby Organizing Art Projects
 

Children come with lots of stuff and a lot of that stuff - particularly when they start going to school - is art. From paper drawings to clay creations and larger mixed media sculptures, the number of art projects that come home in a day can be staggering. So for parents that are wondering what to do with all of this art, we have a few tips and tricks for trying to manage the flow. 

Happy Organizing! 

Create a Display Zone: Establish a display/drop spot for paper art and larger sculpture projects that come in each day. We typically recommend a shelf with limited space for the larger art and sculptures and a paper tray for the smaller pieces so that it doesn't take too long to fill up.  Then, once the space is full,  either on your own or together with your child you can review the pieces and make decisions about what can be discarded. This process can help teach your children that how to make choices about what to keep and what to get rid of on a regular basis. If horizontal space is a challenge for your configuration, go vertical. The same concept can be implemented on a cork board hanging on a wall. 

Let it Go: If you or your child have issues letting go of some of the art projects, try taking a photo of each piece that you are planning to discard. The process of photographing the art and looking at the photos afterwards can provide them with a sense of closure and can make letting go a little easier. It is simple to create an album on your smartphone or tablet which your child can reference later on. 

Archive the Highlights: For the pieces that you want to keep long term, put a label on the back with the year it was created and place it in a large portfolio like this one for paper art or a sentimental box like this one for larger, sculptural pieces. 

Preserve the Memory: If you want to take it a step further, you can even make a book at the end of the year with the photos that you took throughout the year - a beautiful visual reference of their creations - using services like Plum Print or Artkive. We have used personally Plum Print in the past with great results and have found that these books are actually referenced quite often when it's time to walk down memory lane. 


For more blog posts about getting organized, check our posts on organizing toys, bathrooms, and a desk space for kids. 

Organizing Your Bathroom for Kids

OrganizationAnnie & MichelleComment

Families often come to us looking for help creating and/or updating their routines to make everyday tasks a little easier. And, most often, the bathroom is a large part of the struggle. Whether it’s trying to get your kids ready in the morning or trying to get them ready for bed, there is a lot to get done in one space. 

If the bathroom routine is a struggle for you, take some time now to get your bathroom more organized and streamline your routine with our tips below. Happy Organizing!

  • Clear out everything from your bathroom cabinets and start to categorize the items by usage – for instance, first aid supplies in one spot, medicines in another and outdoor items like sunscreen and bug spray in a third. Then, once the items are categorized find a container that fits in your space and can hold all of the items comfortably with a little room to grow.
  • Create stations for each step of your regular routine to make getting through them For instance, store all of the items needed for brushing teeth, styling hair or even handling bumps and bruises.
  • Brighten up the space and make the routine more cheerful by adding a pop of your child’s favorite color to the room. Here the little one loved orange so we added the rug.
  • Make getting out of the bath more fun with a personalized bathrobe or towel to run around in after the deed is done. When you have a child who loves being in the water, we have found that having a few tricks up our sleeve to get them out is always helpful.
  • Simplify clean up by using a milk crate or other drainable container to keep the bath time toys tidy and dry. 

If you are looking for more ideas on how to organize your bathroom for kids, check out our blog post,  Ready, Set, Wash: Bathroom Organization Ideas, posted on the Crate and Kids blog

How to Organize Toys at Home

OrganizationAnnie & MichelleComment


Outside of buying new furniture to house all of your child’s play things - toys, dolls, costumes, blocks, etc. - there are a few less expensive ways to keep chaos at bay. We have used these ideas with our clients and even in our own homes so hopefully they work for you too. 

Under-bed: Under bed storage boxes are an easy way to get toys and items out of sight while still being easy to access when your kids are playing on their own. We use them to store dress up clothes and costumes or even boardgames and other large flat items that are hard to fit in other areas of the home. 

Baskets: Sometimes the best storage option for larger, bulky toys is a large basket or milk crate. This not only makes cleaning up easier but it encourages your child to pick up after themselves. We typically use this type of storage for larger items like wooden building blocks, stuffed animals or sporting goods. 

Plastic Boxes: If you have toys with lots of small pieces like Legos, puzzles or board games, we recommend using clear plastic boxes with lids. They come in a variety of sizes, are typically pretty inexpensive and are see-through which means that your kids can see what is being housed inside. We also recommend using them with labels so that everyone can get involved with clean up. Word to the wise - only stack these boxes two or three high since it will be hard to access the bottom bin if you go much higher especially for little kids. 

Drawers: To make use of vertical space, use clear stackable drawers for craft supplies, games and even books. Drawers make all of the items accessible no matter how high you stack them and clear plastic ensure that you can see the contents. We like both of these options - one and two - depending on what types of items you need to store. 

How do you like to organize your toys at home? 


Creating a To-Go Bag for Kids

OrganizationAnnie & MichelleComment


Kids can be unpredictable so it is up to parents and caregivers to try to prepare for the unknown everyday. For these unexpected moments, we recommend creating and carrying a to-go bag. This bag typically includes a few essential items that will help you deal with whatever comes your way. Below are some of the items we like to pack in our to-go bags. 

  • Mini First-Aid Kit including Band-aids, Antibiotic ointments, etc.
  • Sunscreen wipes
  • Wipes - we love Babyganics
  • Small reusable water bottles like klean kanteen
  • Snack packs
  • Copy of an Emergency Contact Sheet (Check here for more information on what to include on this sheet.)
  • A favorite small toy to distract them like our lego pack
  • A change of clothes depending on age of your child 

As for the to-go bag itself, we love Baggu zipper pouches but have also repurposed giveaway bags from make-up counters in a pinch (thanks, Clinique!). 

What would you add to your to-go bag? 

How to Make Moving Easier on Your Children

Organization, MovingAnnie & MichelleComment
 
Henry & Higby_Services_Moving_and_Unpacking_IMG_7784.JPG
 

Moving is stressful. Between finding a new place, organizing and packing your belongings and coordinating all of the logistics, there are lots of details to figure out. And, although the process is stressful for you, it is also pretty stressful for your kids. 

Having assisted multiple families with moves, both professionally and personally, we have a few tricks for making the transition easier for little ones.  Hopefully these tips will prove to be helpful during your move too. 

  • All the Essentials: Create an open first box just for your children which includes all of the essential items to set them up for a successful first night. For instance, this could include their bath time towels, a sheet set, night lights, pajamas and any favorite blankets and/or bedtime stuffed animals. 
  • The Devils in the Details: Don't forget to make arrangements for your children the day of the move whether making sure that they are getting picked up after-school or planning an activity so that they aren't in your way while you get the house set up. 
  • Bag o' Tricks: If you need to have your kids at home during the move, try to make the day a little more fun by packing an "on the go" bag with some favorite toys as well as some new surprises to keep them occupied. 
  • Photo Finish: If your children are upset about the move and the packing process (which is totally understandable), take photos of the contents of each box before you tape it up and then show them the photos. This can help calm their nerves and buy you a little time before you have to unpack all of their boxes. 
  • Light up the Night: Make the first night a little easier by placing extra night-lights throughout the house and in the bathrooms so they can find their way around the new place with ease.  

How did you make the move easier for your children? 

If you are looking for additional advice on how to make moving less stressful, please check out our other posts on moving - here and here


Organizing Your Life with Kids

OrganizationAnnie & MichelleComment


Life can be overwhelming enough with kids and partners and work and pets and friends and...all requiring time and attention. However, there are some things you can do now to get organized for life with kids that will help make your days a little easier. 

First Aid Kit: Create your own personalized first aid/allergy kit with a latched plastic box (like this or this) and put it somewhere central so it can be used should there be a situation. Be sure to add in a few character bandages (they make you feel better faster, right?) and any other products that your family needs and uses regularly including allergy medications, etc. Here is a resource for how to make your own kit and what to include. At the same time, think about creating a portable version in a small pouch for you or other supervising adults to bring when hanging with the kids outside of the home. 

Contact Sheet: An emergency contact sheet is very important not only for the sitter and any visiting family but also for your own peace of mind. Make a list of all important emergency contacts including the following: doctors, parents, key friends/family that could help in a jam, etc. Once this is created, make copies for friends and family and post one in a central part of the home - likely the kitchen - so that it is readily available in the event of an emergency. 

To-Go Bag: Make getting out of the house with kids easier by having a to-go bag with all of their favorite toys and essentials ready to go near the door. The bag can store their water bottles and favorite outdoor toys for time at the park but it can also serve as a place for them to put those toys and items when inside so that they don’t get lost. Also consider including an on-the-go first aid kit and a copy of the emergency contact sheet mentioned above. 

Kids in the Kitchen: Set aside an easily reached section of the kitchen for your kids lunch boxes, water bottles and treat containers so that they can learn how to put them back themselves. Giving them access to these items will help teach them a little independence and give you a bit of a break. 

Labels: Help stem the tide of missing items from clothing to cups to shoes with personalized labels. Look for washable ones like these or these to make sure that they aren't destroyed in the laundry or dishwasher.

What do you do to make life easier with children?