Henry & Higby

Organization

Our Services: Home Staging

Organization, Home Styling, Moving, Space DesignAnnie & MichelleComment


Our projects aren’t always about unpacking boxes and setting up new systems, designing or redesigning closets or even decluttering spaces to make them more livable. Sometimes our job is to help stage a home so it is ready to go on the market. However, unlike typical home stagers, we don’t bring in all new furniture and “re-do” the house.

Instead, we declutter the house to show off the best features and use what the home owners already have to make the space look as marketable as possible to potential buyers. This is a more cost effective way to get the house ready and can actually help set the stage for a smoother transition if the owners are willing to focus on decluttering the space of unwanted and unused items.

The basic DIY package involves an in-person meeting - typically about an hour long. We walk-through the home and see what needs to be done to get it ready and a follow-up document recapping our notes from the visit – your homework so to speak.

Sometimes it is as easy as swapping or adding lights to a room and rearranging closets but other times the process can involve a partial move out of the house with excess furniture and items that are cluttering the home but need to be kept. And, the work doesn’t have to be completed alone, we can always come in and help make the shifts required to make the house stand out in the market.

Happy Organizing!

Take it From Me: When a Professional Organizer Needs to Follow Their Own Advice

OrganizationAnnie & MichelleComment
 
Henry & Higby Kitchen Organizing
 

As organizers, our clients often ask us if our homes are perfectly organized. Overall, our homes are pretty organized but perfection is definitely in the eye of the beholder and, as we all need to remember, being organized is not a destination but more of an ongoing journey. 

All of that said, I knew that my own kitchen was in need of a little attention and that perhaps it was time to turn the tables and ask myself the hard questions that I always ask my clients – if you aren’t using it why are you keeping it? 

The reasons vary but and three of the most common – at least that we run into - sound something like this…  

  • It was a gift from a friend/family member [insert someone important here] and I don’t want to hurt their feelings by getting rid of it or not having it around when they come to visit.” 

  • “I bought it, never used it and now feel doubly bad about wasting money on it.” 

  • “I might need it some day for X – even though I haven’t used it in five years.”

My own kitchen editing session took longer than I thought it would initially. Although the contents were organized, I seemed to have accumulated quite a few trinkets and tools over the years. I am fortunate that my kitchen storage is pretty ample but I needed to heed my own advice - even if you have a lot of space, you do not have to fill it! 

There were several items that fell into the bucket of “I bought this and thought it was a good idea at the time but have never used it” and “I might need it some day…” 

Upon reflection, it may seem that I have a weakness for the cooking tools section at Williams Sonoma. Everything looks so pretty and shiny and absolutely critically to my success in the kitchen while I’m in the store. But, when I get it home, I find these pretty, shiny, critical tools sitting there in my drawer unused and unappreciated and often passed up in favor of my old standbys. It is now time to move along the egg tongs and the avocado shaped scraper. 

 
Henry & Higby Kitchen Organizing
 

After tackling tools, I turned to my baking section which had grown unwieldly over the years. My reason for the excess is that baking is a hobby my son and I enjoy together. We have experimented with almost every baking category. We went through a mold phase, a rainbow cake phase (which required multiple individual cake pans), a cupcake phase with fun toppers to boot and the classic (never to be revisited) elaborate fondant phase. However, no matter what fun trendy baking phase we try though, we always end up making our favorites – cookies, breads and basic cakes. So, the question is…why am I still holding onto all the other baking accessories? Perhaps it is holding onto them for sentimental reasons or perhaps it is that I haven’t taken the time to actually do something about them but, regardless now is the time to move all of it along to someone else that can use them rather than have them collect dust in my upper cabinets. 

 
Henry & Higby Kitchen Organizing
 

With my drawers and cabinets cleared of the items I no longer use I feel the freedom that comes with clearing clutter. Clearing the physical space frees up mental space. This is our mantra during edit sessions and it definitely rang true during my own tune-up.  

- Michelle

Clearing Clutter to Find Your Inner Calm

OrganizationAnnie & MichelleComment

I recently re-connected with a colleague from my former days in public relations. She also left the agency world and is now an entrepreneur herself having started a yoga business, Topsy Turvy Yogi, with a friend. During our conversation, we found a lot of synergies between the calm that comes from getting organized and the calm from practicing yoga and wondered if we could help make the connection for others too. 

Life gets hectic and clutter can fill both your mind and your home but that there are ways to eliminate those distractions and to create a sense of calm from chaos. So we are helping you clear the clutter and find your inner calm by equating the process of working through your chakras with simple yogic practices with the process of organizing your home. The important thing to remember is that everyone and everything is a work in progress so the key to success is to keep trying. 

Read on to work through the process of finding calm both inside and out. 

Happy organizing and namaste!

Chakra Organizing Chart_09.jpg

Giving the Gift of Organizing

Organization, MovingAnnie & MichelleComment
 
Henry & Higby gift card
 

You may or may not know that we offer gift cards for people who like to give the gift of organizing for holidays and special occasions. We have been gifted to a number of people over the years from broker gifts for the sale of a new apartment to wedding and housewarming gifts. So read on for some feedback from those happy recipients and maybe even find some inspiration for the next time you find yourself shopping for a gift. 

Happy Organizing!

Broker Gift

"Our broker gave us a gift card for our closing and it made all the difference. My husband and I have crazy work schedules so it was a relief to have Michelle and Annie come in and handle all of the move logistics for us. From decluttering before the move to coordinating with the movers through the pack and moving days and unpacking us in our new home, they handled the whole process. And, I can't tell you what a joy it was to walk into a fully set up home instead of wading through boxes for what would likely have been weeks on end."

Wedding Gift

"We received so many presents for our wedding (some even off the registry!) and had no idea how to fit them all in our apartment given the seemingly limited storage options. Henry & Higby found space we did not even know existed! They worked wonders in our small space and made everything so accessible that we don't have an excuse not to use them." 

Birthday Gift

"My husband gave me a Henry & Higby gift card for my birthday. My home office had become a dumping ground and I was overwhelmed with the thought of trying to tackle all of the clutter that had accumulated over the years. It was not a total disaster but it was definitely not my favorite spot in my home. When Michelle and Annie showed up, I quickly became relaxed as they talked me through the steps to getting my space cleaned out and usable again. As an added bonus, they even helped me accessorize the room a bit to help my turn my office chaos into a calming sanctuary." 

Housewarming Gift

"A good friend gave us a Henry & Higby gift card when we moved to the burbs because she knew that we were struggling a bit. Coming from the city, we thought that we had it figured out but with all of the space that our house had we got a little overwhelmed and everything seemed to end up in our basement -- a pile of unmade decisions. Once Annie and Michelle came in, we came up with a space plan for the closets and rooms that really made sense and got all of our remaining boxes unpacked and in place . We owe them so much for their quick and smart suggestions -- and now we have an empty basement!"


If you want to give the gift of organizing, reach out to us at hello@henryandhigby.com for more information. 


How to Organize: Business Cards

OrganizationAnnie & MichelleComment
 
Business Card Blog
 

No matter how paperless I try to be, I always seem to find business cards in my wallet and in the bottom of my purse. I can't say that I handle the situation immediately -- there may still some cards at the bottom of my bag right now -- but I'm going to put the work into it now. If you find yourself in the same boat, try one of these methods below. 

Happy Organizing!

Use an App (Paid): There are a number of applications you can use to assist with scanning and handling business cards but one that comes highly recommended is CamCard. With this app, you can not only scan and store your business cards but you can also exchange e-cards on-the-go when you are running out of paper ones. Alternatives for Apple users include ScanBizCard and Business Card Reader Pro

Try Evernote (Free): Evernote Scannable is an app that allows you to scan contracts, receipts and business cards - really any paper that you come across - so that you can move it along. The reason that it is so great for business cards is because it pulls information from them and will save it to your contact list. 

Take a Photo: The easiest app-less way to handle business cards is to take a picture and save it in a special business card folder on your phone so that you know where to find it when the time comes. 

Type it In: Go old school and just type the information into your phone contact list or even into your real address book if you love paper. Granted this takes a bit of time but it is reliable and doesn't require much on your part but a little bit of time - plus it gives you a chance to type in some extra notes at the same time about the meeting. If you have a smart phone, you can even take a photo of the logo and assign it to the contact to give yourself visual reference. 

How do you handle business cards? 

How to Organize: Using Labels

OrganizationAnnie & MichelleComment

If you know an organizer, you know someone who loves a label. And, who can blame them - labels are key to maintaining an organized space because it makes putting things away that much easier when you - and everyone else in the house - knows where to put it. 

The number and placement of labels you use is completely up to you and your personal preference. Some people only label containers and others like to labels shelves too - whatever works best. 

There are lots of different kinds of labels but a few of our favorites are linked below.

Happy Organizing!


Screen Shot 2018-04-11 at 8.05.51 PM.png


DYMO LabelManager 160 Handheld Label Maker

We love this label maker because it is so portable for days when we have jobs all over the city. 

 
Screen Shot 2018-04-11 at 7.58.49 PM.png

White Bin Clips

These bin clips can be used all over the home and on almost any basket or bin that you could use to help keep your home and spaces organized. 


Manila Gift Tags

Repurpose gift tags as labels for bins and baskets throughout the house. 

 
Screen Shot 2018-04-11 at 8.01.14 PM.png

Scotch Chalkboard Tape

This tape is quick and easy to use for labels and is reusable if you use a chalkboard pen. 

 
Screen Shot 2018-06-03 at 6.22.31 PM.png

Avery Rectangular Removable Chalkboard Labels

If you want a neater chalkboard look, these removable labels are a great option and offer plenty of room to play around with different fonts and sizes. 

 
Screen Shot 2018-06-03 at 6.25.38 PM.png


OXO Removable Labels

Sometimes you need a smaller label and this option from OXO is great because it comes in a few different sizes for those smaller containers. 


What are your favorite labels? 

Getting Organized for Summer

OrganizationAnnie & MichelleComment
 
Henry & Higby Getting Organized for Summer
 

Many of us are nostalgic for the summer days of our youth but summer gets a bit more complicated when you become a parent. Between ever shifting schedules, busy social calendars, sleepovers, camps and the days when the kids are home in between, parents have a lot on their plates and living isn’t always easy. However, with a little preparation and organization, you can relieve some of the summer stress and enjoy some more restful moments. 

Read on for some of our tips on how to plan now for a stress-free summer with your family. 

Happy Organizing!


Create a Calendar: Start updating your family calendar for the summer months so you can capture all activities that you and your children will participate in including camp, playdates and travel. This way you will know what is coming up and what weeks or days you still have to fill up. Color coding the calendar by activity or child makes it easy to quickly reference commitments.

Make a Date: Plan outings and get togethers for those free days and weekends of summer to help you stay in touch with friends and family. And set aside time for some of the activities that are unique to summer such as days at the pool, leisurely BBQs outside, running through sprinklers and catching fireflies in mason jars. With services such as Amazon Prime and grocery delivery apps, we find it easy to stay on top of prep by creating an alert in our phone calendar a few days before a planned activity to stock up on necessary supplies. 

Banish Boredom: When you come up with fun activities, write them out on index cards and pin them next to the family calendar. That way when the “I’m bored“s start (it’s inevitable, right?), you already have a list of ideas ready to go. Letting kids choose the activity too makes them part of the process as well! 

Keep Learning: Look for activities that will keep your children engaged and learning about the world around them. Planting a small garden is a favorite in our house because you can plant the seeds together when school lets out, task your children with watering them every day and then reap the benefits and have a fun cooking project come August when the plants are fully grown. 

Check Your Supplies: Summer means days with lots of sun and bugs, so start stocking up now on sunscreen and bug repellant and check your first-aid kit to see what needs to be replenished. Grab extras to make “to go” packs that can be popped into bags on the way out of the house in the morning. That way everyone is covered no matter who is taking care of the kids that day. 

If you are looking for more ideas on getting organized for summer, check out our blog post, Simple Steps to Get Ridiculously Organized for a Stress-Free Summer, posted on What Moms Love

Organizing Your Children's Art Projects

OrganizationAnnie & MichelleComment
 
Henry & Higby Organizing Art Projects
 

Children come with lots of stuff and a lot of that stuff - particularly when they start going to school - is art. From paper drawings to clay creations and larger mixed media sculptures, the number of art projects that come home in a day can be staggering. So for parents that are wondering what to do with all of this art, we have a few tips and tricks for trying to manage the flow. 

Happy Organizing! 

Create a Display Zone: Establish a display/drop spot for paper art and larger sculpture projects that come in each day. We typically recommend a shelf with limited space for the larger art and sculptures and a paper tray for the smaller pieces so that it doesn't take too long to fill up.  Then, once the space is full,  either on your own or together with your child you can review the pieces and make decisions about what can be discarded. This process can help teach your children that how to make choices about what to keep and what to get rid of on a regular basis. If horizontal space is a challenge for your configuration, go vertical. The same concept can be implemented on a cork board hanging on a wall. 

Let it Go: If you or your child have issues letting go of some of the art projects, try taking a photo of each piece that you are planning to discard. The process of photographing the art and looking at the photos afterwards can provide them with a sense of closure and can make letting go a little easier. It is simple to create an album on your smartphone or tablet which your child can reference later on. 

Archive the Highlights: For the pieces that you want to keep long term, put a label on the back with the year it was created and place it in a large portfolio like this one for paper art or a sentimental box like this one for larger, sculptural pieces. 

Preserve the Memory: If you want to take it a step further, you can even make a book at the end of the year with the photos that you took throughout the year - a beautiful visual reference of their creations - using services like Plum Print or Artkive. We have used personally Plum Print in the past with great results and have found that these books are actually referenced quite often when it's time to walk down memory lane. 


For more blog posts about getting organized, check our posts on organizing toys, bathrooms, and a desk space for kids. 

Our Favorite Donation Locations in NYC

Organization, New York CityAnnie & MichelleComment
 
donations edited.jpg
 

Letting go of items that have accumulated can be hard but many of our clients find it easier to let go of things if they know that those items can be donated and have a life and purpose with someone else. So, if you are looking to make donations for stuff that is accumulating in your home, check out our quick tips and the list below for some of our favorite donation spots in and around the city.

  • Many organizations reserve the right to refuse pieces that are being donated so make a call if you aren't sure if a piece will work out. There is no point in bringing it across town only to have it be rejected. 
  • If time is on your side, some donation spots will come pick up your furniture and other items but this service is often booked up for weeks in advance so it isn't a great option if you need to get the stuff out of your home quickly. 
  • If you can't donate a piece or just don't want to deal with it, consider calling JunkLuggers who for a relatively reasonable fee will haul your stuff away without any fuss on your part. And, the good news is that they try to donate everything first so you don't have to worry about all of your stuff ending up in the garbage. 

Happy Organizing! 


FOR BOOKS: Housing Works Book Store

Location: 126 Crosby Street, New York, NY

Accepts: Books, DVDs & CDs, LPs and Textbooks (less an 1 year old)


FOR WORK CLOTHING (WOMEN): Dress for Success

Location: Manhattan - 32 East 31st Street, 6th Floor New York, NY || Queens - 114-14 Jamaica Avenue
Richmond Hill, New York

Accepts: See full list of accepted items here

Note: Donations are accepted in Manhattan every third Saturday of the month and in Queens every second Saturday of the month. However, professional clothing in plus sizes (16-24) is in such high demand that they are accepted in the Manhattan location during the week as well as on donation Saturdays. 


FOR WORK CLOTHING (MEN): Career Gear

Location: 125 Maiden Lane, 3B New York, NY 

Accepts: See full list of accepted items here

Note: Donations are accepted in-person on six dates throughout the year so check their website before making a trip. However, donations can also be made via the mail if you are inclined to ship the items during times that fall outside of the donation day windows. 


FOR CLOTHING & FURNITURE: Housing Works Stores

Location: Multiple locations around the city

Note: Furniture must be in excellent condition as determined by the shop manager


FOR CLOTHING, FURNITURE & HOUSEHOLD GOODS: Goodwill

Locations: Multiple locations around the city

Accepts: See full list of accepted items


FOR ART SUPPLIES, OFFICE FURNITURE AND HOUSEHOLD GOODS: Materials for the Arts

Location: Northern Boulevard between 33rd and 34th Streets, Long Island City, NY

Accepts: See full list of requested items here

Note: All donations must be approved before dropping them off. Please reach out to donations@mfta.nyc.gov or 718-729-2065 to confirm that they will take them. 


FOR BABY THINGS: Room to Grow

Location: 7 West 30th Street, Floor 3 New York, NY

Accepts: All donations should be new or nearly new, clean and in truly excellent condition (click here for a list of acceptable items)


FOR OLD SHEETS AND TOWELS: Veterinary Offices & Animal Shelters

Note: Many veterinary offices and even animal shelters will accept donations of old sheets and towels to help line the cages, etc. so try making a call to one of your local spots when deciding where to donate them.


What are your favorite donation spots in and around the city? 

Staying Organized: Online or On Paper?

OrganizationAnnie & MichelleComment
 
Henry & Higby Staying Organized Online or On Paper
 

We are often asked as organizers how we keep our work and home lives organized. Do we have any tips or tricks to share? Of course, we have some tips and tricks on how you can try to stay on top of it all. But, unfortunately, there is no magic bullet to figuring out how to best stay organized. It takes time and some trial and error to find what works best for you and your family. 

I personally love to write things down and I have a notebook that I take with me everyday so that I can make sure to capture thoughts and to-dos throughout the day. In fact, I used to almost always use a paper planner too but that changed as my needs changed when I switched careers and started my own business. 

Moving from the corporate world to an "anything but a desk" job as a professional organizer made it harder for me to use and maintain a paper planner. I didn’t love having to bring along one more thing in my bag and my ever-changing schedule made it hard to keep up to date. That was when I stopped using my paper planner in lieu of a calendar on my phone. It made updating my calendar easier - much less erasing! - and it allowed me to share appointments and information easily with my business partner and friends, thereby keeping all of us more organized. 

My online calendar is now my lifeline for work and life but there are still times when I need to write things out. And, in those instances, I turn to a Muji calendar notebook without dates so that I don’t waste an entire planner for the few weeks that I need to see things mapped out in front of me. 

I still use my trusty notebook for work and life to-dos as I find it therapeutic to write - and even type - things out. My partner will attest that in my most overwhelmed moments I need to take a step back and being writing things out so that I can clarify my thoughts and figure out how to best move forward. I find it easy to make sense of chaos when it is written down in front of me and I can lay it out in a logical way. 

And that all makes sense given that research discussed in this New York Times article has shown that writing things down helps you remember them. I have definitely found that to be the case and something that I tell my clients when they are having issues trying to keep track of all that life is throwing at them. 

-Annie

Tips for Staying Organized

Making a To-do List: Keep a list of to-dos so you can stay on top of everything that you have to do that day, week or even month. Depending on how you work best (again, trial and error), this list could be a running list of items that need to be accomplished regardless of timing or you can create one for the day or week ahead so that you can stay on track. There is almost nothing more satisfying that crossing items off a list.

Writing Daily Notes: Write down reminders and notes as they come to you throughout the day in a notebook or on your phone. This way, you don’t have to worry about forgetting them and you can stay more focused on the task at hand. 

Setting Appointments: Whether you choose to use a paper planner or an online calendar, it is important to track all of your upcoming appointments. Online calendars are great because you can add easily add friends and family to the invite with a simple click of the button which has saved me a lot of time and grief. I also like to set up reminders about a week before my friends and family members birthdays so I can make sure I get my card in the mail in time for the big day. 

Planning Ahead: Mornings can be overwhelming particularly if you are getting the family out the door, so take some time each night to list out your to-dos for the next day and review your schedule. I often find that when I am feeling overwhelmed that taking some time to go over everything that needs to be done - and writing it down - helps me rest more easily and maybe even get some sleep.

Happy Organizing!

Organizing Your Bathroom for Kids

OrganizationAnnie & MichelleComment

Families often come to us looking for help creating and/or updating their routines to make everyday tasks a little easier. And, most often, the bathroom is a large part of the struggle. Whether it’s trying to get your kids ready in the morning or trying to get them ready for bed, there is a lot to get done in one space. 

If the bathroom routine is a struggle for you, take some time now to get your bathroom more organized and streamline your routine with our tips below. Happy Organizing!

  • Clear out everything from your bathroom cabinets and start to categorize the items by usage – for instance, first aid supplies in one spot, medicines in another and outdoor items like sunscreen and bug spray in a third. Then, once the items are categorized find a container that fits in your space and can hold all of the items comfortably with a little room to grow.
  • Create stations for each step of your regular routine to make getting through them For instance, store all of the items needed for brushing teeth, styling hair or even handling bumps and bruises.
  • Brighten up the space and make the routine more cheerful by adding a pop of your child’s favorite color to the room. Here the little one loved orange so we added the rug.
  • Make getting out of the bath more fun with a personalized bathrobe or towel to run around in after the deed is done. When you have a child who loves being in the water, we have found that having a few tricks up our sleeve to get them out is always helpful.
  • Simplify clean up by using a milk crate or other drainable container to keep the bath time toys tidy and dry. 

If you are looking for more ideas on how to organize your bathroom for kids, check out our blog post,  Ready, Set, Wash: Bathroom Organization Ideas, posted on the Crate and Kids blog

Setting up a Desk for Your Kid

Organization, Space DesignAnnie & MichelleComment
 
ACS_0005.JPG
 

We recently had a client ask us to help set up a desk for her 7-year old son. He wanted a spot of his own to sit and work on his projects and we were more than excited to help out.

We found a desk that fit with the aesthetic of the room from Land of Nod and then started the process of organizing the space. In this case, since our client's son doesn’t have a lot of homework yet, we hung up some cork boards behind the desk to display his art, reminders and memorabilia and we put his craft supplies within easy reach. A divided Lazy Susan creates an instant art supply bin than is portable and simple for small hands to carry and use. We also added simple stackable paper trays on top of the desk which create a drop zone for loose sheets and art projects.

 
ACS_0004.JPG
 

Then, we put small trays inside the desk drawers to keep items such as pencils, tape, scissors and small notebooks neat and tidy. Our trick for helping kids remember where things should be placed is to add clear labels inside each of the bins and then they can easily retrieve them again before their next project. 

ACS_0003.JPG

If you are looking for more ideas on how to set up a homework station/desk for your family, check out our post on the topic - How To Create The Ultimate Homework Station - from last fall that posted on What Moms Love.

When to Toss Make-up

OrganizationAnnie & MichelleComment
 
Henry & Higby Makeup Storage.JPG
 

We love helping our clients organize their bathrooms and throughout that process we often get asked questions about the shelf life of make-up and other toiletries. 

We did some research to brush up on our knowledge so that we can answer with confidence. However, if you are in doubt, it is probably best to throw it out, says the girl who still has make-up from (ahem!) college…but no worries, it was tossed shortly after we wrote this post. 

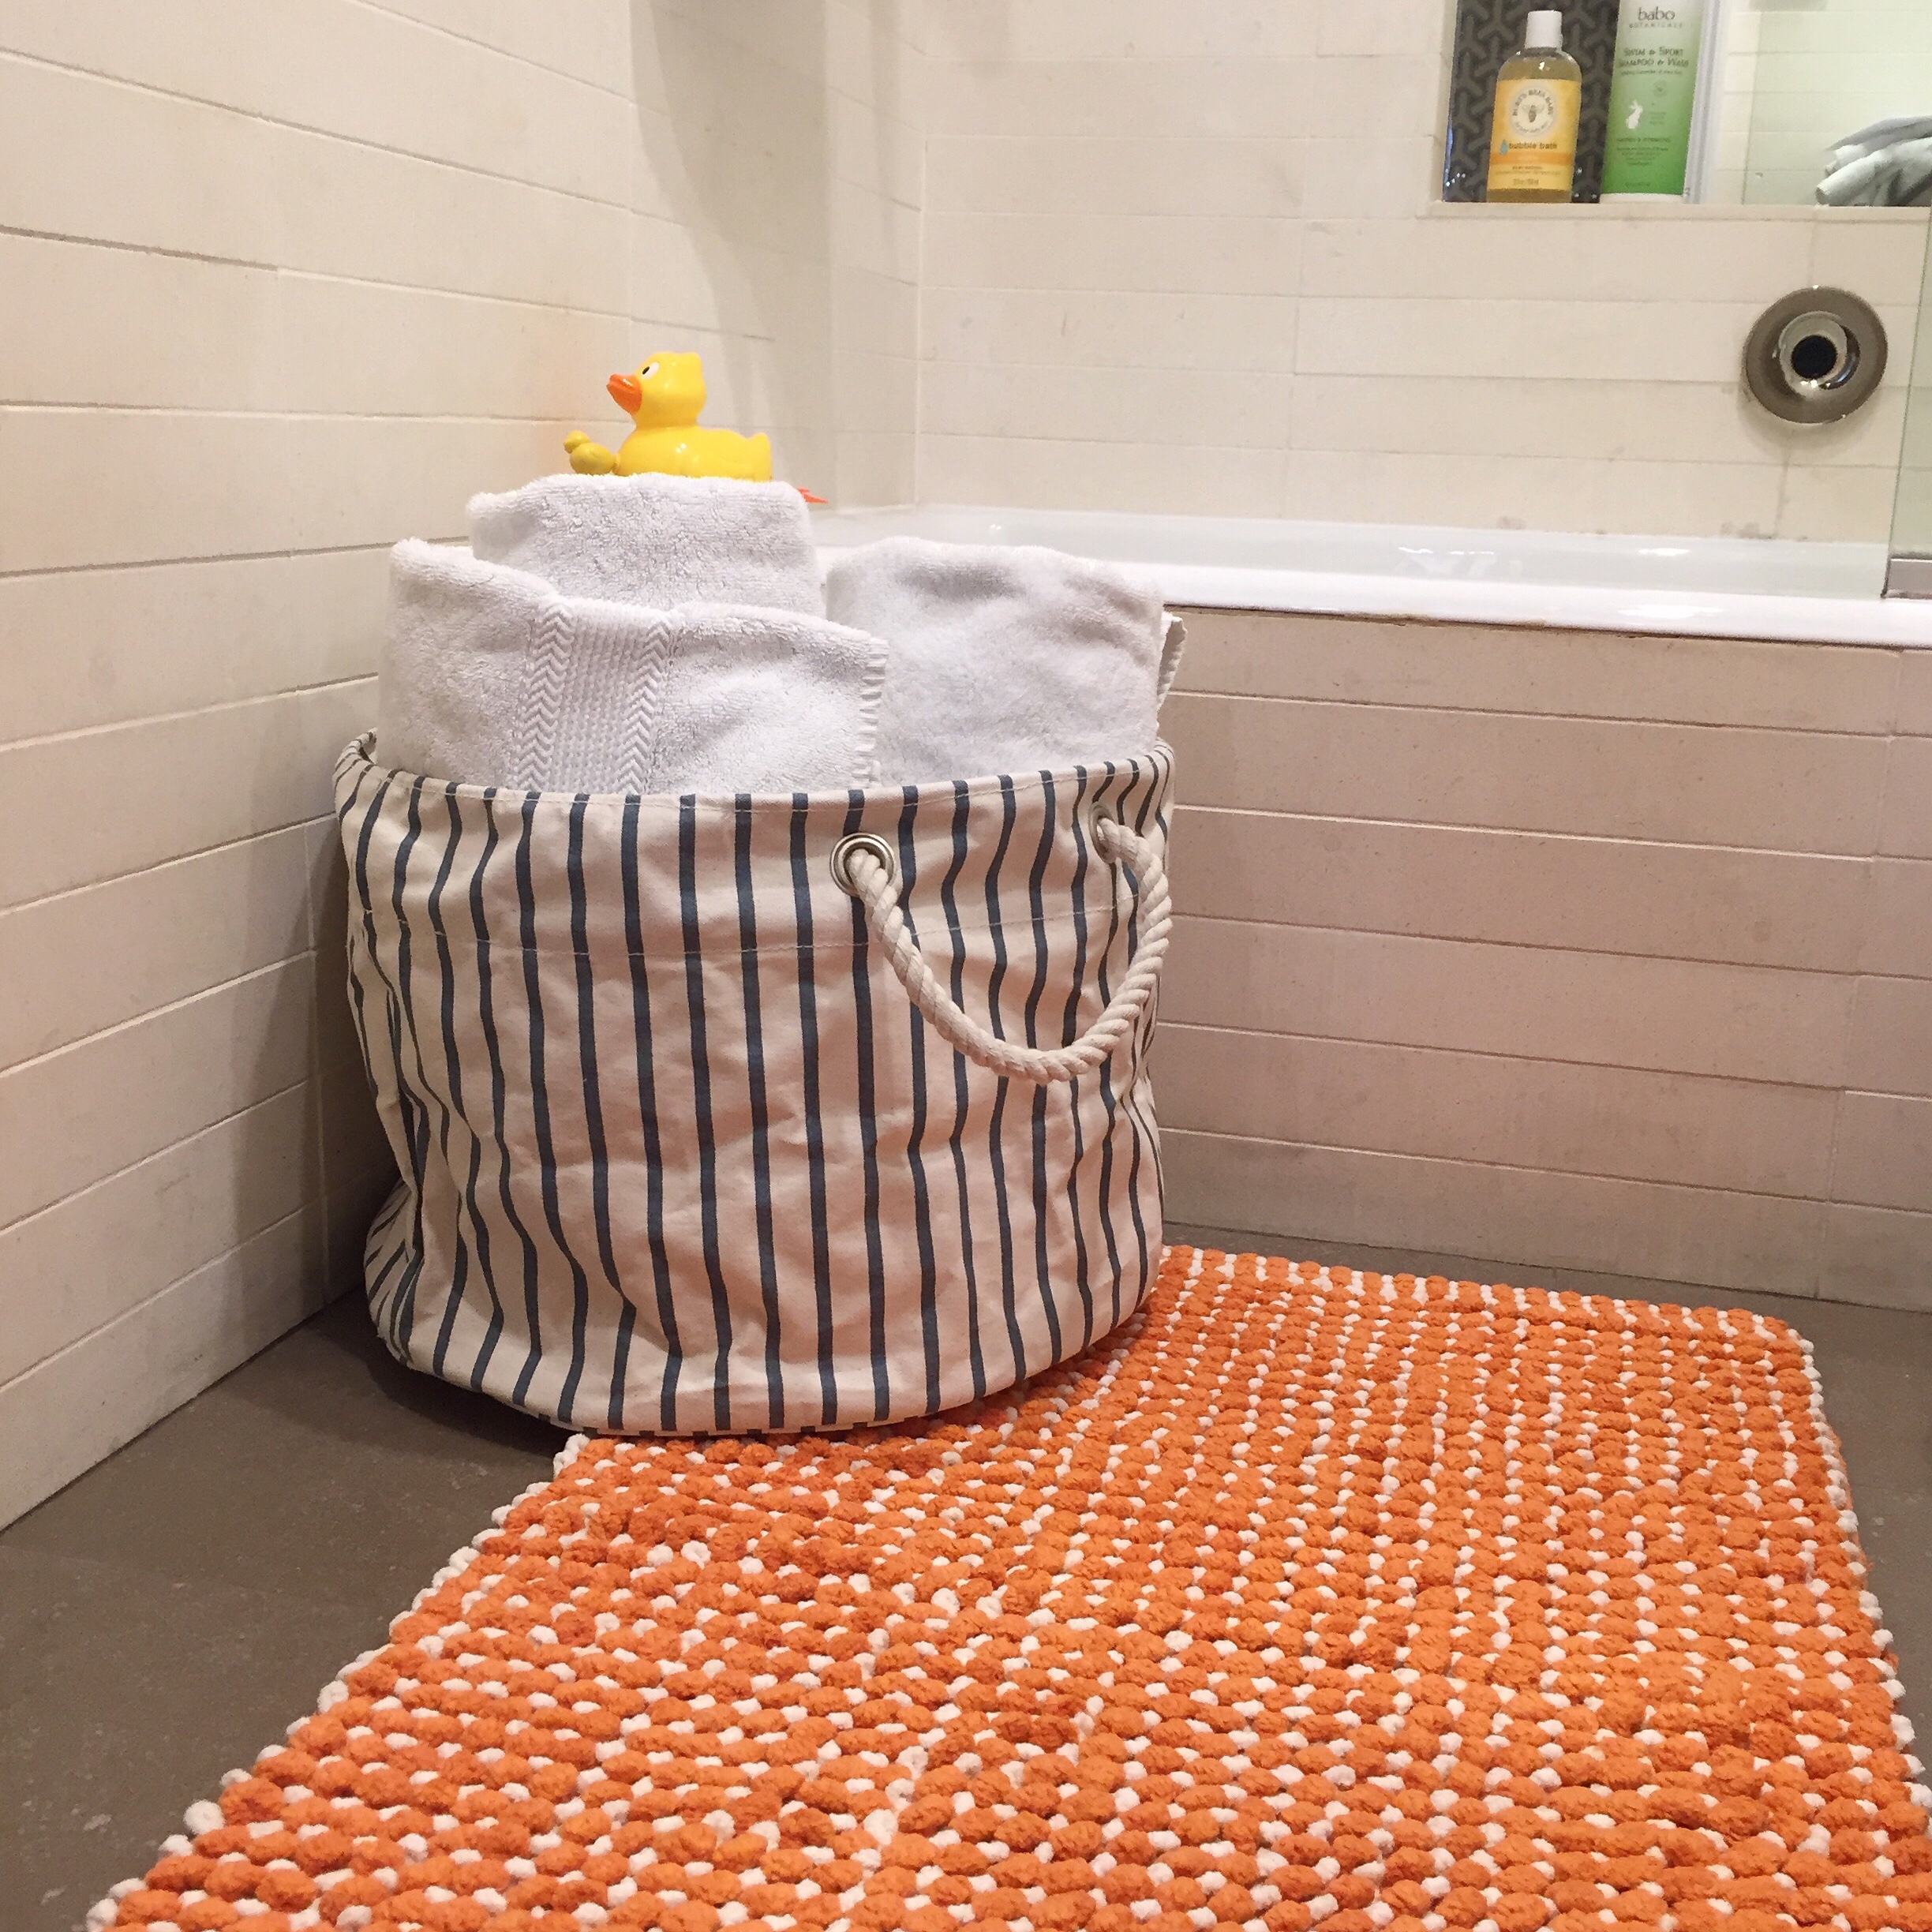
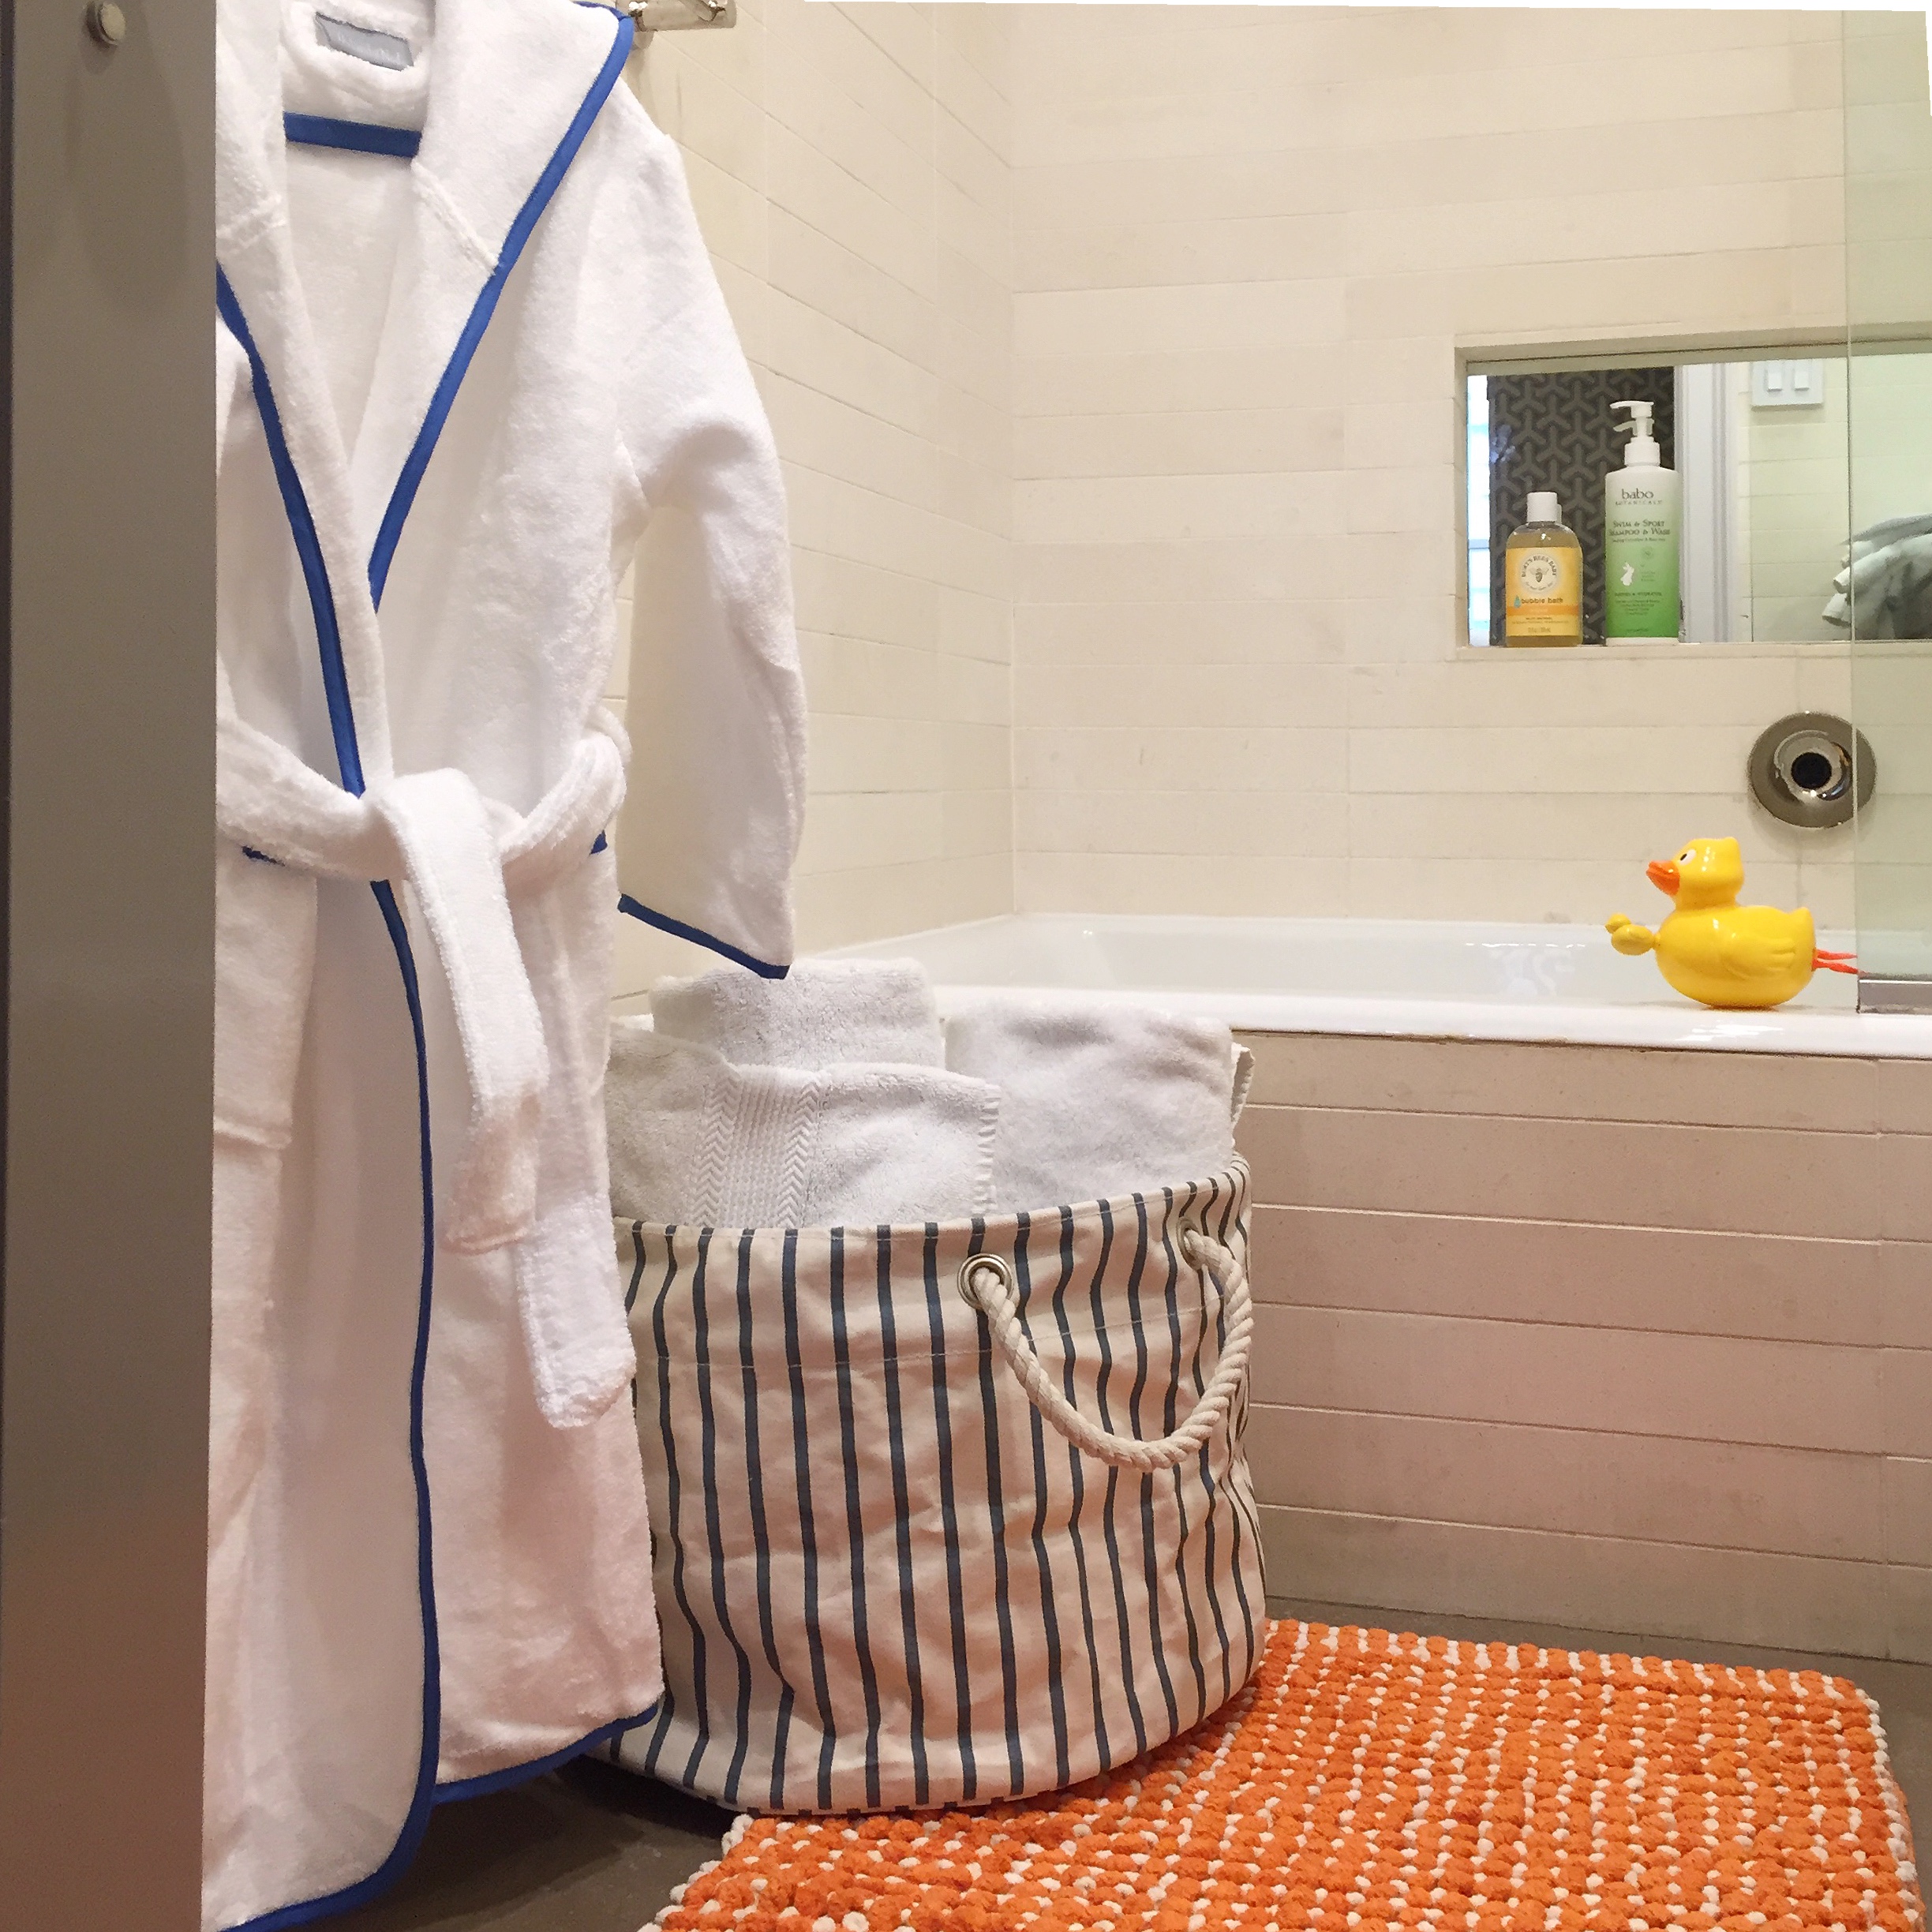
Before we dive into the specifics, we have one quick storage tip to share -- to make your make-up and toiletries last even longer; don’t store your makeup in the bathroom where humidity can make it spoil faster.

Happy Organizing!

When to Toss...Make-up

Mascara: 3 Months

The consistent response no matter where you look is to toss mascara after three months or once a quarter. 

Eyeshadow, Cream: 3 - 18 Months

It has hard to find consistent information on when to toss cream eyeshadows. The results of our research ran the gamut from 3 months to 18 months, which is quite a spread. Given this inconsistency and the fact that they tend to grow bacteria more quickly than powder, it is best to pay extra attention to them. Regardless of whether you apply them with your finger or a brush, you need to make sure that your application method is clean. If you notice any product build up, a bit of rubbing alcohol can help refresh the surface of your product.

Eyeliner, Liquid: 3 Months

Similar to mascara, liquid eyeliner should be thrown out about every three months because bacteria tends to flourish in the tubes. This is in large part due to the fact that every time you dip the wand, you are transferring an rapping bacteria. 

Foundation and Concealer, Liquid: 6-12 Months

Liquid foundations have water in them, which means that they can harbor bacteria once they are opened. Look for products with a pump or squeeze tube, but if you find yourself with an open container, on’t dip your fingers directly into the container, use clean brushes or sponges and avoid double dipping, as that can increase the changes of it being contaminated. 

Concealer, Powder and Stick: 1-2 Years

As with other powder based products, a powder concealer can last up to two years especially if you are applying it with a regularly washed makeup brush and/or sponge. 

Blush or Bronzer, Cream: 1 Year

To prolong the life of your blush, clean your brush regularly and store it in a dark, dry place. 

Lipstick, 1-2 Years (or longer)

There is a bit of conflicting information here about how long lipsticks last with the range being from 6 months to 5 years but most sources put it around 1-2 years. However, regardless of how long you have had it or what product you are talking about, keep an eye out for changes in color, consistency and scent which could be indicators that it is time to toss it. 

Lip Gloss: 6 months to 1 Year

We found a lot of conflicting information on he shelf life of a lip gloss, so it is probably best to just keep an eye on it for any changes in color, consistency or scent regardless of when you started using it. 

When to Toss...Powders

Eyeshadow, Powder: 2 Years

Foundation, Powder: 2 Years

Blush or Bronzer, Powder: 2 Years

Powder-based products should be safe for up to two years, larg in part because they don’t contain water. However, since eyeshadows come in contact with your eye, make sure that your brushes are clean, especially if you are using the product on a daily basis. And, keep an eye out for funny smells or turned colors but otherwise they are good to go for quite a while.

When to Toss...Pencils

Eyeliner, Pencil: 2 Years

Lipliner, Pencil: 2 Years (or longer) 

Pencils can last up to two years (or even longer in some cases) because the surface is refreshed every time it is sharpened. However, if you want to be certain that is it okay to use for years to come, make sure that you also sanitize your sharpener with rubbing alcohol or another appropriate cleaning agent in between uses. 

Still wondering about a specific product? Flip your product over and look for a symbol that looks like a jar with a lid, the number inside that symbol represents the number of months the product is safe to use after opening!


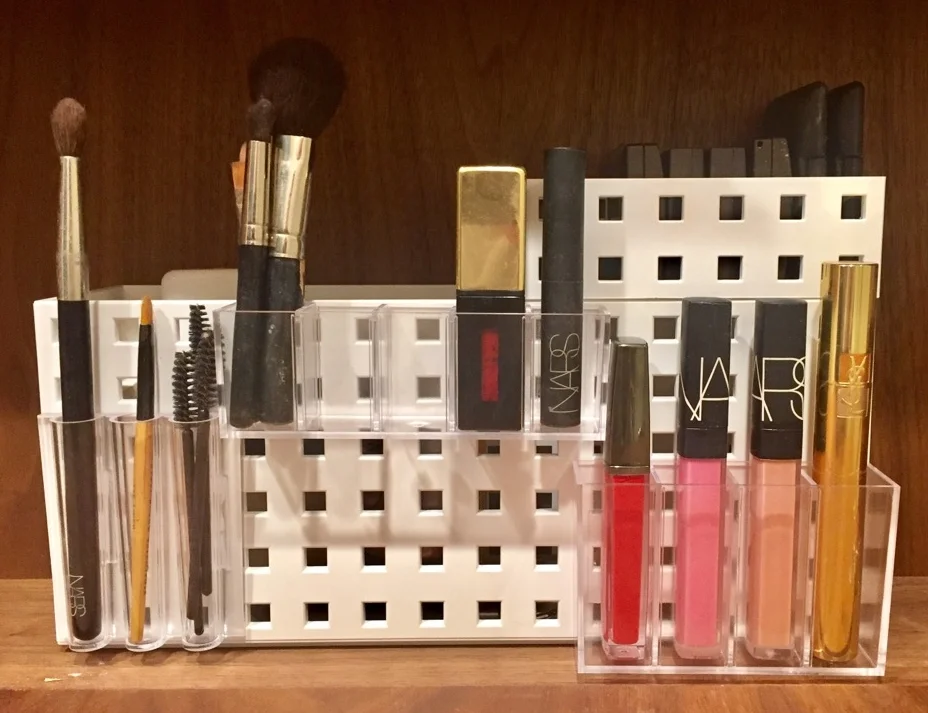
If you are looking for advice on how to organize your bathroom, please check out our post here

Our Favorite Organizing Products for Small Space Living (Part 2)

Organization, Space DesignAnnie & MichelleComment

We love the challenge of organizing whether in big or small spaces. There is nothing more satisfying that coming up with a solution that works for the space and the client and makes their life better.  But the unsung hero of any job are the products that make it all possible so without further ado, here are a few of our recent favorites. Read on and happy organizing!


StickOnPods

These self-adhesive pods are great for making the most of small cabinets without a lot of shelf space. 

Huggable Hangers

Slim line huggable hangers make a big difference when you are trying to fit more clothing into a smaller closet. And, if you do make the switch, you get the added benefit of having your closet look more organized since your eye isn't distracted by different types of hangers. 

Lazy Susan

Lazy Susan's are helpful in any tight space where accessibility is an issue so don't feel like you can only use this in the kitchen - take it into the bathroom, playroom or really any place in the home were it can make a difference. 

Undershelf Baskets 

Undershelf baskets are a great tool for maximizing cabinet space and can be used for almost anything from hand towels to mugs and even hair tools if you use it in the bathroom. 


If you are looking for more small space living tips and product recommendations, please check out our other posts on the topic here, here and here


Our Favorite Storage Hacks

OrganizationAnnie & MichelleComment

As organizers, we help people maximize their spaces to make them more functional. Most of the time the solutions are relatively simple but every once in a while we need to get a little creative to find a way to really maximize a small or odd shaped space. Sometimes this means finding that one unique organizing product that is a perfect fit and other times it is finding a favorite product from one area of the home and repurposing it for another. Below are some of our favorite recent storage hacks that repurpose products all across the home. Happy Organizing!

Variera Plastic Bag Dispenser

Need to store wrapping paper so that won't take up valuable floor space? Try using this plastic bag dispenser from Ikea to hold wrapping paper rolls in a closet. Just affix it to the wall and you are ready to start wrapping. 

Screen Shot 2017-06-01 at 3.08.12 PM.png

Clear Linus Divided Lazy Susan

Consider using this divided Lazy Susan intended for the kitchen in any room of the house such as the bathroom, craft room or even the basement. This workhorse piece can easily store - and make accessible - anything from toiletries and hair products to paints and markers. 

Henry & Higby_Organizing Hacks_Container Store

InterDesign Affixx Adhesive Organizer Bins

Repurpose these larger adhesive organizing bins for the kitchen in your bathroom or other small space to keep counters clear and space maximized. 

Henry & Higby Storage Hacks Container Store

Anchor Hocking Glass Canisters with Glass Lids

Beautify your laundry room by removing laundry pods or even laundry powder from the packaging and putting it in one of these glass jars instead. Or if you are a user of liquid detergent and so inclined, you could even consider decanting the liquid into a glass drink dispenser

Screen Shot 2017-06-01 at 3.11.54 PM.png

Chrome Axis Over-the-Cabinet Grocery Bag Holder

No place to store your tin foil and plastic wraps? Use this over-the-cabinet grocery bag holder to fit three of your wraps instead and save drawer space for other items. 

What storage hacks have you used around the home? 


For more storage hacks, check out our beauty storage hack store here

A Beauty Storage Hack

New York City, OrganizationAnnie & MichelleComment

Living in New York City often means that you have to get creative with your storage and space. This week we were organizing a bathroom that had shallow built-in shelves -- less than three inches wide -- and we needed to find a storage solution for beauty products. Our client didn't have a huge collection but she had enough that we had to put a little thought into it. 

After much deliberation and a trip through the Container Store, we were able to create a beauty storage hack that we loved so much we wanted to share it with you.  This idea or something like it can easily be recreated for other small spaces in almost any room so read on if you are in need of a small space storage fix. 

 
Henry & Higby Beauty Storage Hack
 

White Like-It Bricks Narrow

We love using these narrow storage bricks. They are the perfect solution for small, narrow spaces since they are under three inches wide. 

 
Henry & Higby Beauty Storage Hack
 

StickOnPods, Pack of 3

These pods are perfect for when you need to eke out extra storage in a cabinet as they can adhere to almost any smooth surface without damage. 

Using these two products, we able to create a self-contained make-up storage solution that fits in even the narrowest of spaces. To recreate it yourself, use the Like-It bricks as the foundation and stick the StickOnPods to the bricks for extra storage. 

Henry & Higby Beauty Storage Hack

How do you store your beauty products with limited space? 

A Few of Our Favorite Organizing Products for Small Space Living

Organization, New York CityAnnie & MichelleComment
 
Henry & Higby Favorite Organizing Products
 

As organizers in New York City, we are used to the small and sometimes oddly shaped spaces that New Yorkers call home (ourselves included!). From irregular sized cabinets to no cabinets, we have seen and organized it all but part of our success is due to the items we use that help maximize the space.  While this may not be one of our more traditional organizing posts, this is a shout out to a few of the products that make our job a little easier. 

Henry & Higby Like-it Bricks

White Like-It Bricks Narrow Bins

We love using these stackable bins in tight spaces like on top of a bathroom medicine cabinet. They can store and hide an array of toiletry items and, since they are only 2 and 5/8 inches wide, they can fit almost anywhere. 

 
Henry & Higby Clear & White Drawer Organizer Trays
 

Clear & White Drawer Organizer Trays

Recently, we have come across shallow desk drawers that don't accommodate standard organizing trays. Initially it was a little frustrating but then we found these relatively inexpensive drawer organizers that clock in at only 1 and 3/4 inches so now tidying almost any drawer is a breeze.

 
Henry & Higby Command Broom Gripper
 

Command Brand Broom Gripper

These removable broom grippers are a lifesaver in small spaces that don't have a household closet. We use them in hidden corners and along side refrigerators to make storing brooms, mops and/or Swiffers easier and, in the long run, damage-free since there is no drilling required. 


What products do you use to make living in small spaces easier? 

How to Keep Your Gym Bag on Pace

OrganizationAnnie & MichelleComment
 
Henry & Higby_Gym Bag Organization
 

We all struggle with losing things at the bottom of our bags and gym bags are no different. Inevitably, there is a time crunch after finishing your workout and getting to your other daily commitments because life doesn’t stop for SoulCycle! Once you head back to the locker room, there is almost always a lot of time wasted searching for things no matter how well the bags were packed at home.

After many a struggle on the floor of the locker room, we have found that the easiest way to minimize search time is using smaller pouches in your larger gym bag. Basically, it is a bag of bags. Read on for our tips and tricks on packing this bag of bags below. Happy Organizing!

  • Make Getting Ready Packs: Sort the items you need to get ready after class into sections. For instance, if you always shower after class, pack your shampoo, razor and shower sandals in a small "shower" zipper pouch so it is easy to grab while getting into the endless shower queue. Then, categorize all the items that you use post-shower such as toiletries and/or makeup and put them into separate zipper pouches so they are easy to find once you are out of the shower. Who knows, now that you have all the goods gathered, you might be at the front of the line! 
  • Find a Pack: Although almost any bag will do, we would be remiss not sharing our beloved Baggu Nylon Pouches as an option to keep everything sorted in your gym bag. The lightweight material is easy to clean and these pouches can be filled to the gills regardless of size or shape of the items being stuffed in them. 
  • Bring an Extra: If you are anything like us, you will want to wrap up those sweaty gym clothes so that they don’t touch anything else in your bag. In that case, just bring an empty pouch to contain your clothes. And, a bonus if you choose Baggu pouches is that you can throw them right into the washer. 
  • Wrap it Up: A great way to keep your clothing organized particularly if you are heading to the office after class is to use packing cubes. Not only do they keep your clothing clean but they can also help keep them free of wrinkles. 
  • Pick a Bag: The easiest way to stay organized at the gym is to only have one designated gym bag and to stick with it. We can be bag switchers too but this is the only way you can be sure to not lose something. 

What do you do to keep your gym bag organized? 

Organizing Your Storage Unit

OrganizationAnnie & MichelleComment
 
Henry & Higby_organizing your storage unit
 

We get it. Sometimes you need to get a storage unit. However, whether it is for items that don't fit in your apartment or items that you frankly don't want to fit in your apartment, there is no excuse for the unit to be unorganized.  With a little planning and forethought, you can maximize your storage space so you aren't wasting money and it doesn't become a black hole. 

Staging Items: When you are ready to start packing items for the unit, gather everything in one space and start grouping like items together. For instance, put all seasonal decor items or off-season clothing in its own pile so you can see how much you will need to pack for each grouping. 

Making an Inventory: Once you have everything laid out, start making an inventory list of all items being packed away in the unit so you can reference it before making a trip to retrieve something. Or if you are more of a visual person, take photos of each item or group of items being put away and save them in one document for easy reference. 

Selecting Storage Bins: After the inventory is complete, start packing each group of items - i.e. seasonal decor or off-season clothing - into storage bins or whatever container makes the most sense. If you are going with plastic, make it easy on yourself by using clear plastic bins so you can see the contents on each box even when they are put away. Another pro tip for really maximizing space is to only use two size boxes in the space or one, if you can make it work, as this makes stacking them easier. 

A few notes for storage, if you are using the unit for clothing (seasonal or otherwise), make sure that all of your clothing is clean before you pack it. The same goes for linens or anything fabric. And, breakables such as vases, mirrors or frames should be wrapped in bubble wrap so that they don't get scratched or broken. 

Labeling the Bins: The next step is to label each box clearly - Box #1 of ___ : Seasonal Decor - and add that label ID to the inventory sheet. This will make retrieving the boxes easier when the time comes. You will also know how many boxes you need to look for in case there are multiple. As for the labels themselves, you will need two of them for each box or container. One will go on the short side and the other on the long side. Also, be sure to make boxes "Fragile" if they contain breakables so that anyone handling them will be aware. 

Planning the Space: At this point in the process, you will know how much stuff you have to store and it is a good time to start selecting an actual storage unit size based on that information. Break out those calculators and figure out your cubic feet. A little space planning now to find the best sized unit will save you money as you aren't wasting it on a unit that is too big for your things. 

Do you have any other organizing tips for storage units to share? 


Tips for Getting Organized (Part Two)

OrganizationAnnie & MichelleComment
 
Henry & Higby_Tips for Getting Organized
 

We have posted general tips for getting organized before and we will probably post about it again because who can't use a little help every once in a while? So...without further ado, here are some additional tips and tricks on simple ways to get yourself organized around the home. 

Command Center: Create a command center to house all of the paper and mail that comes into the home. At this stations, set up files for each member of the family so that you can house all of their important documents. (Click here for more information on paperwork management.)

Greetings & Salutations: Create a file with cards for all occasions so you are never caught empty handed again. I am a self-professed paper junkie so you may not need as many cards as I have at home but I do recommend buying cards when you see them and not just shopping when there is an immediate need. That way you aren’t in a bind next time an occasion comes up. 

Wrap it Up: Stop stressing about the never-ending cycle of gift purchasing and wrapping for birthdays by buying one fun gender neutral paper and then two colorful grosgrain ribbon options to jazz it up. Then use this paper throughout the year for birthdays and any other occasions that come up to eliminate some stress. We love using wrapping paper with stripes or geometric prints like this one or this one but any pattern will do! 

Go Bags: Always be prepared by having a couple of small toiletry bags packed with your essentials to pop into your purse, car glove compartment or gym bag as needed.  We like to include gum, extra hair ties, hand cream, a small mirror, lipstick or chapstick in our bag and bandaids for breaking in those new shoes, but you can really fill them with anything that you need regularly. And, if you have kids, check out our article on how to create one especially for them. 

What tricks do you have for staying organized?

If you are looking for more general tips on getting organized, please check out our other post here.